Introduction
For some time now, I had been planning to create a personal media server, something which would allow me to access personal media from anywhere, at any time. Ease of use was also something very important to me since my family would be using it as well. I had heard about Plex before but never got around to actually using it. I had a Raspberry Pi 4 which was collecting dust, and I decided to repurpose it as the brains of my personal media server.
Why Plex?
For the uninitiated, Plex is a popular media server software which allows you to stream and organize your media files. It has a great user interface and is super easy to set up. It can transcode media content on the fly which means you probably won't run into compatibility issues with your files. It also is completely cross-platform which adds to the ease of use.
What's a Raspberry Pi?
You probably may have heard about Raspberry Pi before, quite possibly from the TV show Mr Robot. Here's a great hacking scene from the show, where the Raspberry Pi was heavily used.
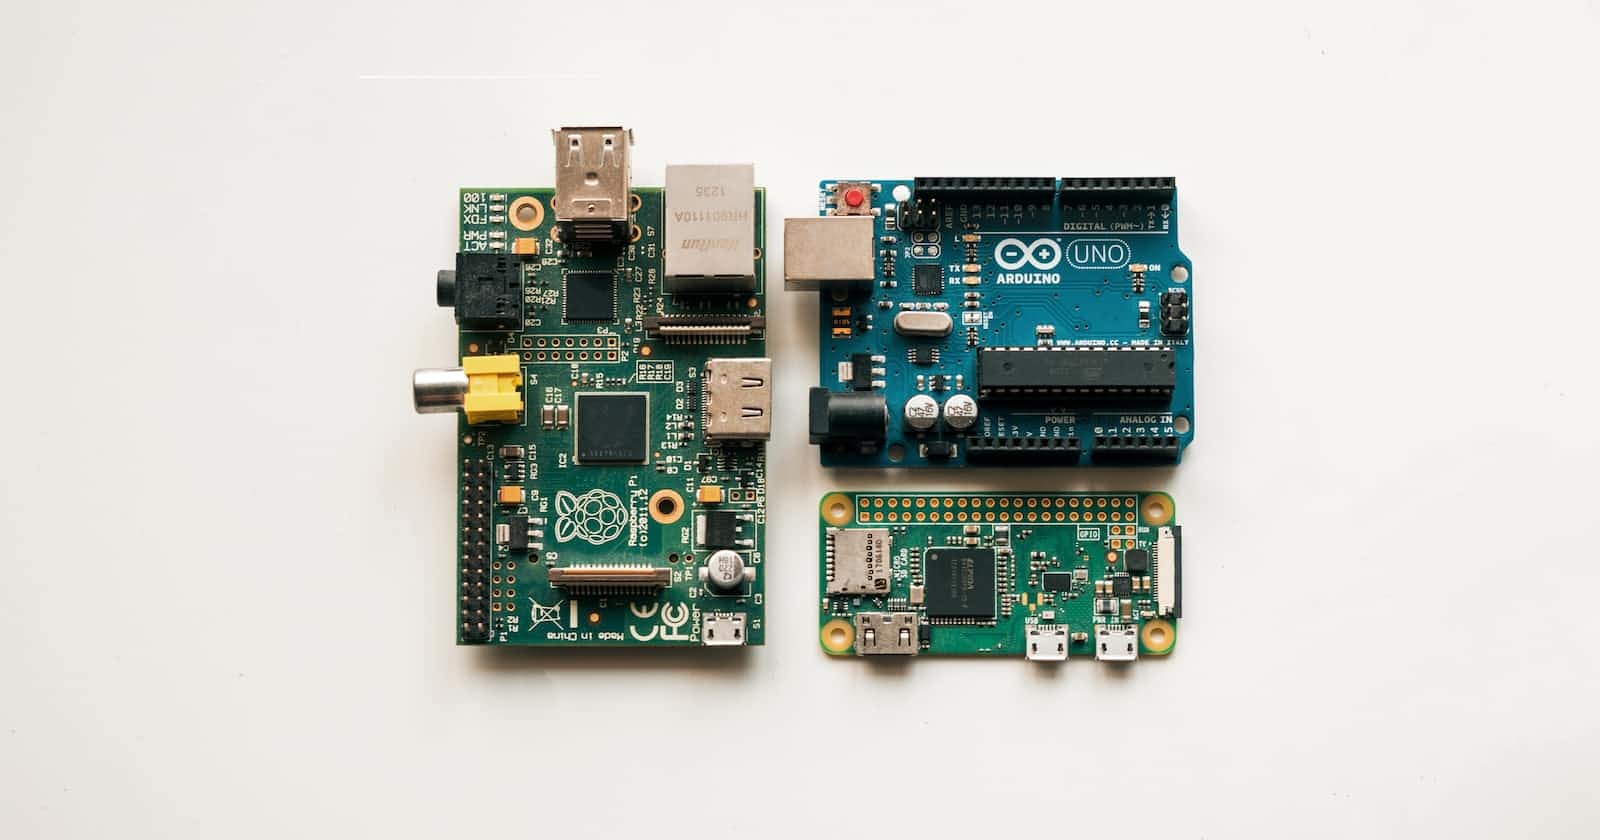
Essentially, it's a credit-card-sized single-board computer which has gained popularity among hobbyists due to its versatility and plentiful use cases.
Prerequisites
Raspberry Pi 4 (4GB ram recommended)
USB Pendrive (16GB recommended)
Windows 10/11 with WSL enabled (for Rsync)
Setting up Plex and Raspberry Pi
Connecting with SSH
I won't be going over the initial setup of the Pi and the installation of Raspbian OS since you'll find many articles for the same. Here's a great guide on getting started with the Pi. I'll show the steps to set up SSH which will help us connect to our Pi remotely.
Find the IP address by typing,
hostname -Iin the terminal, on your pi device.On your computer, open up a terminal or a command prompt, and enter,
ssh pi@ip_address(replace ip_address with your Pi device IP).You'll be asked to enter a password, go ahead and enter 'raspberry'.
Installing Plex Media Server
Before we get into installing Plex, make sure you have the latest packages and your operating system is up to date, with the following commands:
sudo apt-get update && upgrade -yOnce the update finishes, we'll need to install the 'apt-transport-https' package, which will allow us to retrieve packages over the https protocol.
sudo apt-get install apt-transport-httpsWe'll now be adding the Plex repositories to the "apt" keyrings directory. You can learn more about keyrings here.
curlhttps://downloads.plex.tv/plex-keys/PlexSign.key| gpg --dearmor | sudo tee /usr/share/keyrings/plex-archive-keyring.gpg >/dev/nullFinally, we'll add the official plex repository to the sources list and also run an "update" to refresh the packages.
echo deb [signed-by=/usr/share/keyrings/plex-archive-keyring.gpg]https://downloads.plex.tv/repo/debpublic main | sudo tee /etc/apt/sources.list.d/plexmediaserver.listsudo apt-get updateWe can now go ahead and install plexmediaserver
sudo apt install plexmediaserver
Setting a Static IP Address
To make sure, your Plex Media Server is always found at the same address, we'll be using a static IP address.
We need to open the cmdline.txt file with nano or any other text editor:
sudo nano /boot/cmdline.txtWe add the following line with the IP of our Raspberry Pi.
ip=IP_ADDRESSIf you've used nano, close the file using
Ctrl + Xand save withY
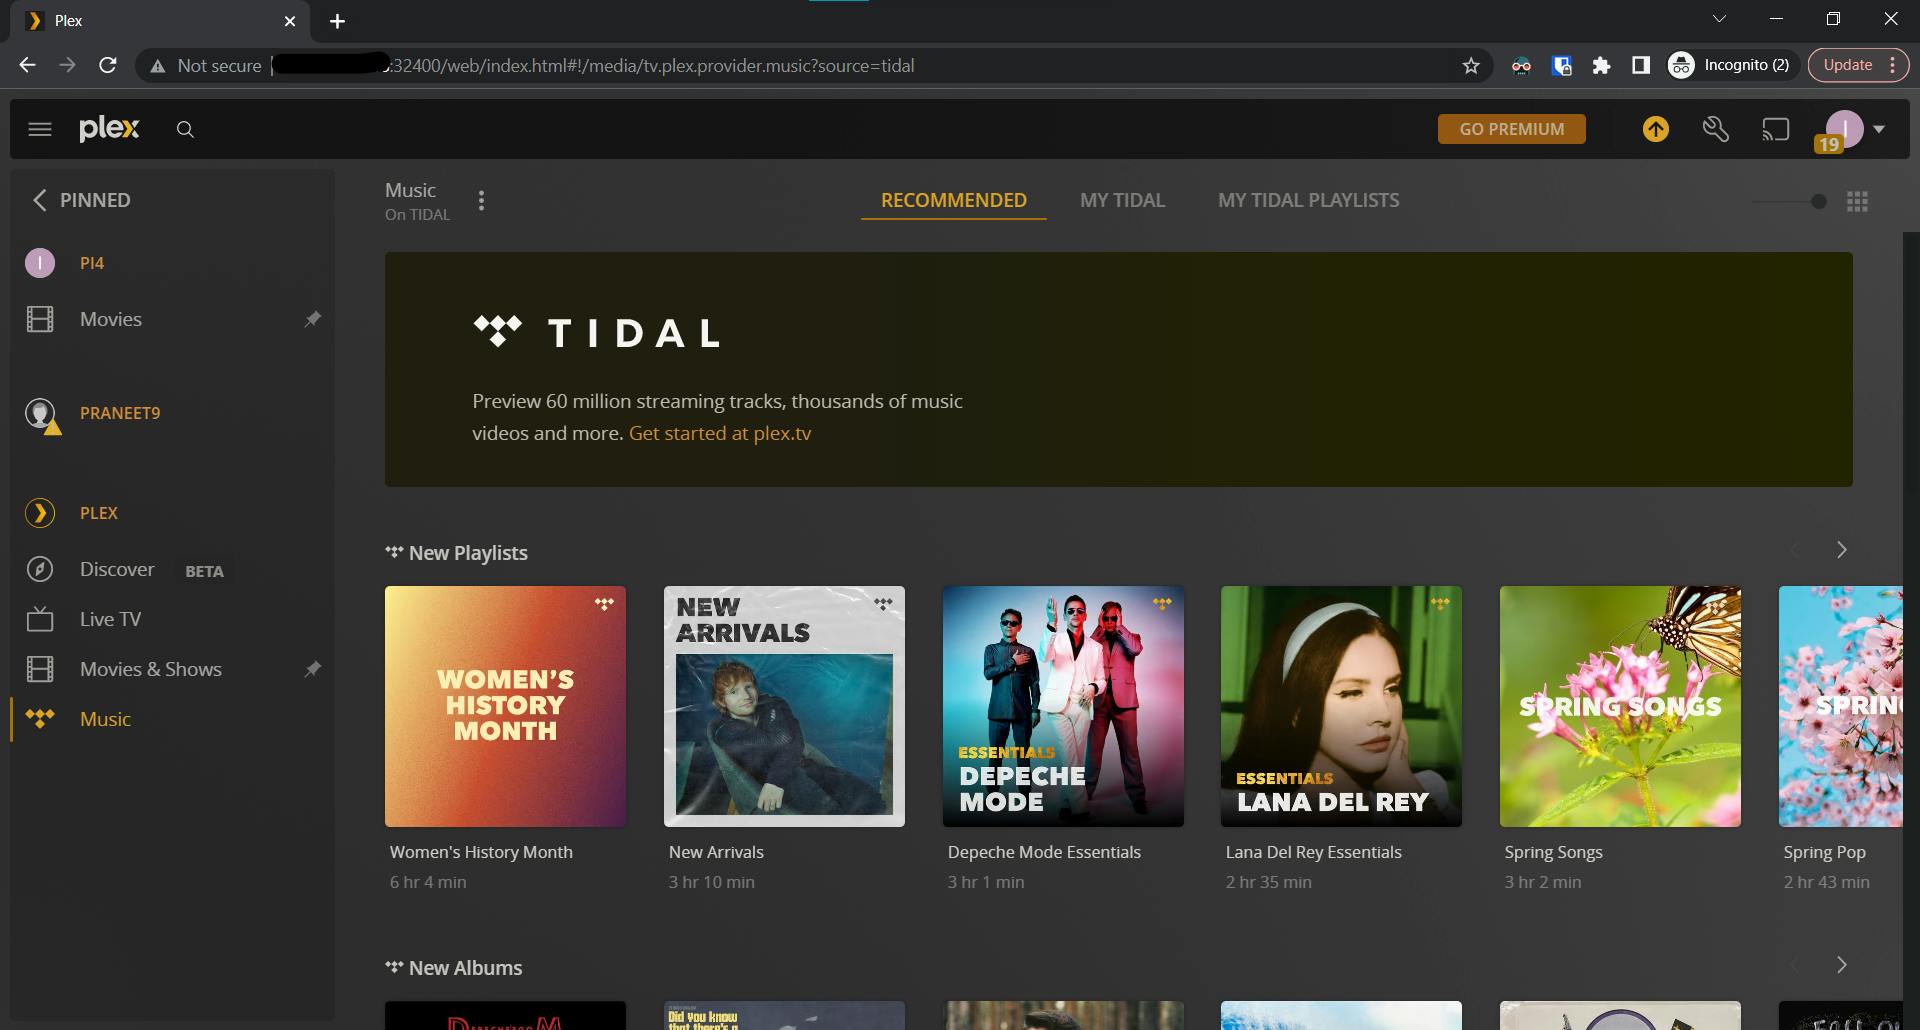
With our Pi device running, we'll go ahead and open the Plex web interface in our browser. The address will be the IP of your Raspberry Pi, followed by port 32400. If you haven't already, create a Plex account and log in.
Automounting USB drive
The USB drive which you insert into the Pi will contain all the multimedia that you want to share. We'll be setting up automount for that drive, which will help us access our media on Plex, without the need to mount the drive every time we start the Pi.
Once you've inserted your device, run the following command to see a list of all connected devices.
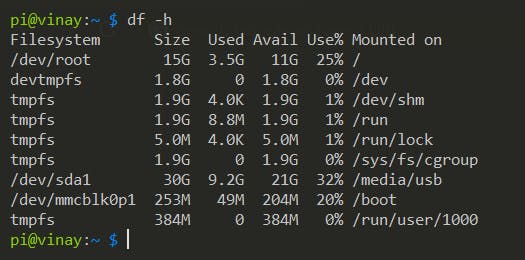
Identify your USB drive, and run the following command to retrieve additional information regarding your drive. Note down the UUID mentioned in the output.

Now we'll go ahead and create a folder and also assign permissions.
sudo mkdir -p /mnt/usbsudo chown -R pi:pi /mnt/usbNext, we need to modify the fstab file with the UUID of our drive. Modify the file like the image below, and make sure to replace 'ntfs' if you have a different filesystem on your drive.
sudo nano /etc/fstab
Finally, we need to unmount our drive and mount it again for our changes to take effect.
sudo umount /dev/sda1sudo mount -a
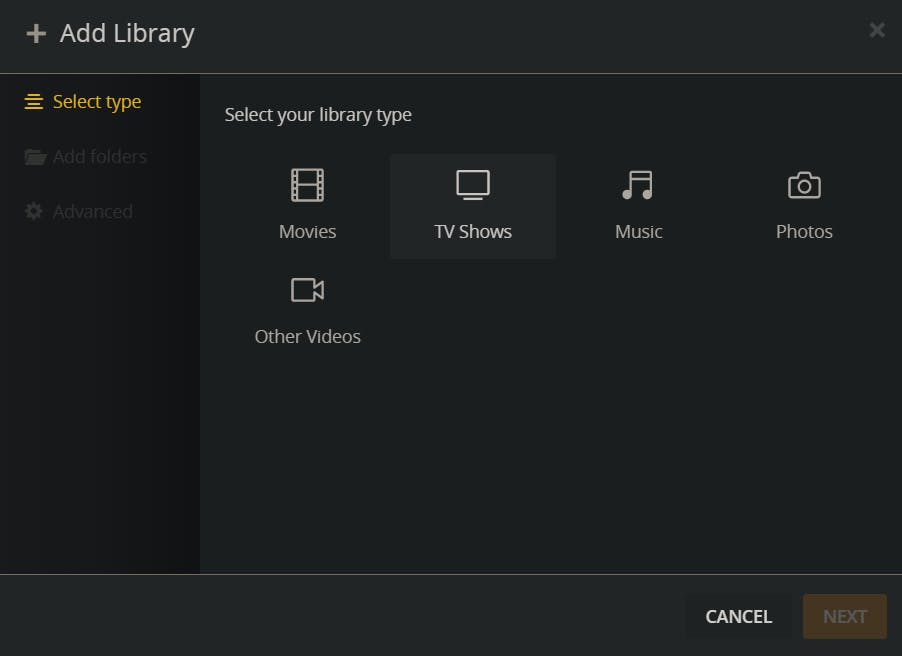
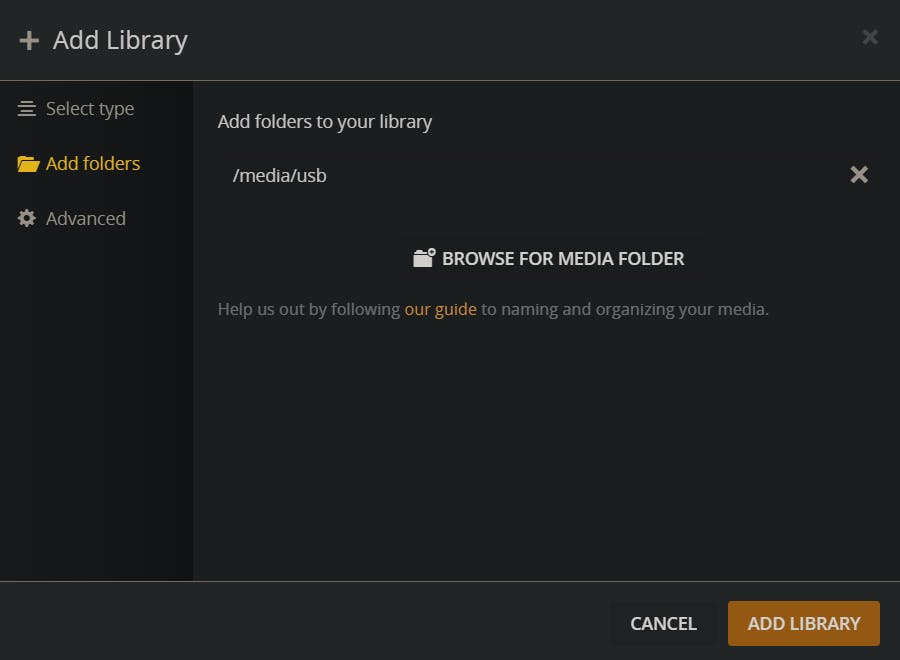
Finally, on the Plex web interface, we can now add the folder that we created in the last step and start streaming our files!
Optional
Setting up Rsync
Rsync is a file transfer and synchronization tool which will allow us to easily transfer files to our USB drive on the Pi. If you are using Windows, you'll need to set up WSL2. Here's a guide for installing Ubuntu on WSL2.
Once you have Ubuntu set up on WSL2, make sure to update your packages.
sudo apt updateInstall rsync with the following command.
sudo apt install rsync -yRun the following command to transfer your file to your USB drive.
rsync -avp /mnt/c/Videos/down-a-highway.mp4 pi@192.168.29.56:/media/usb
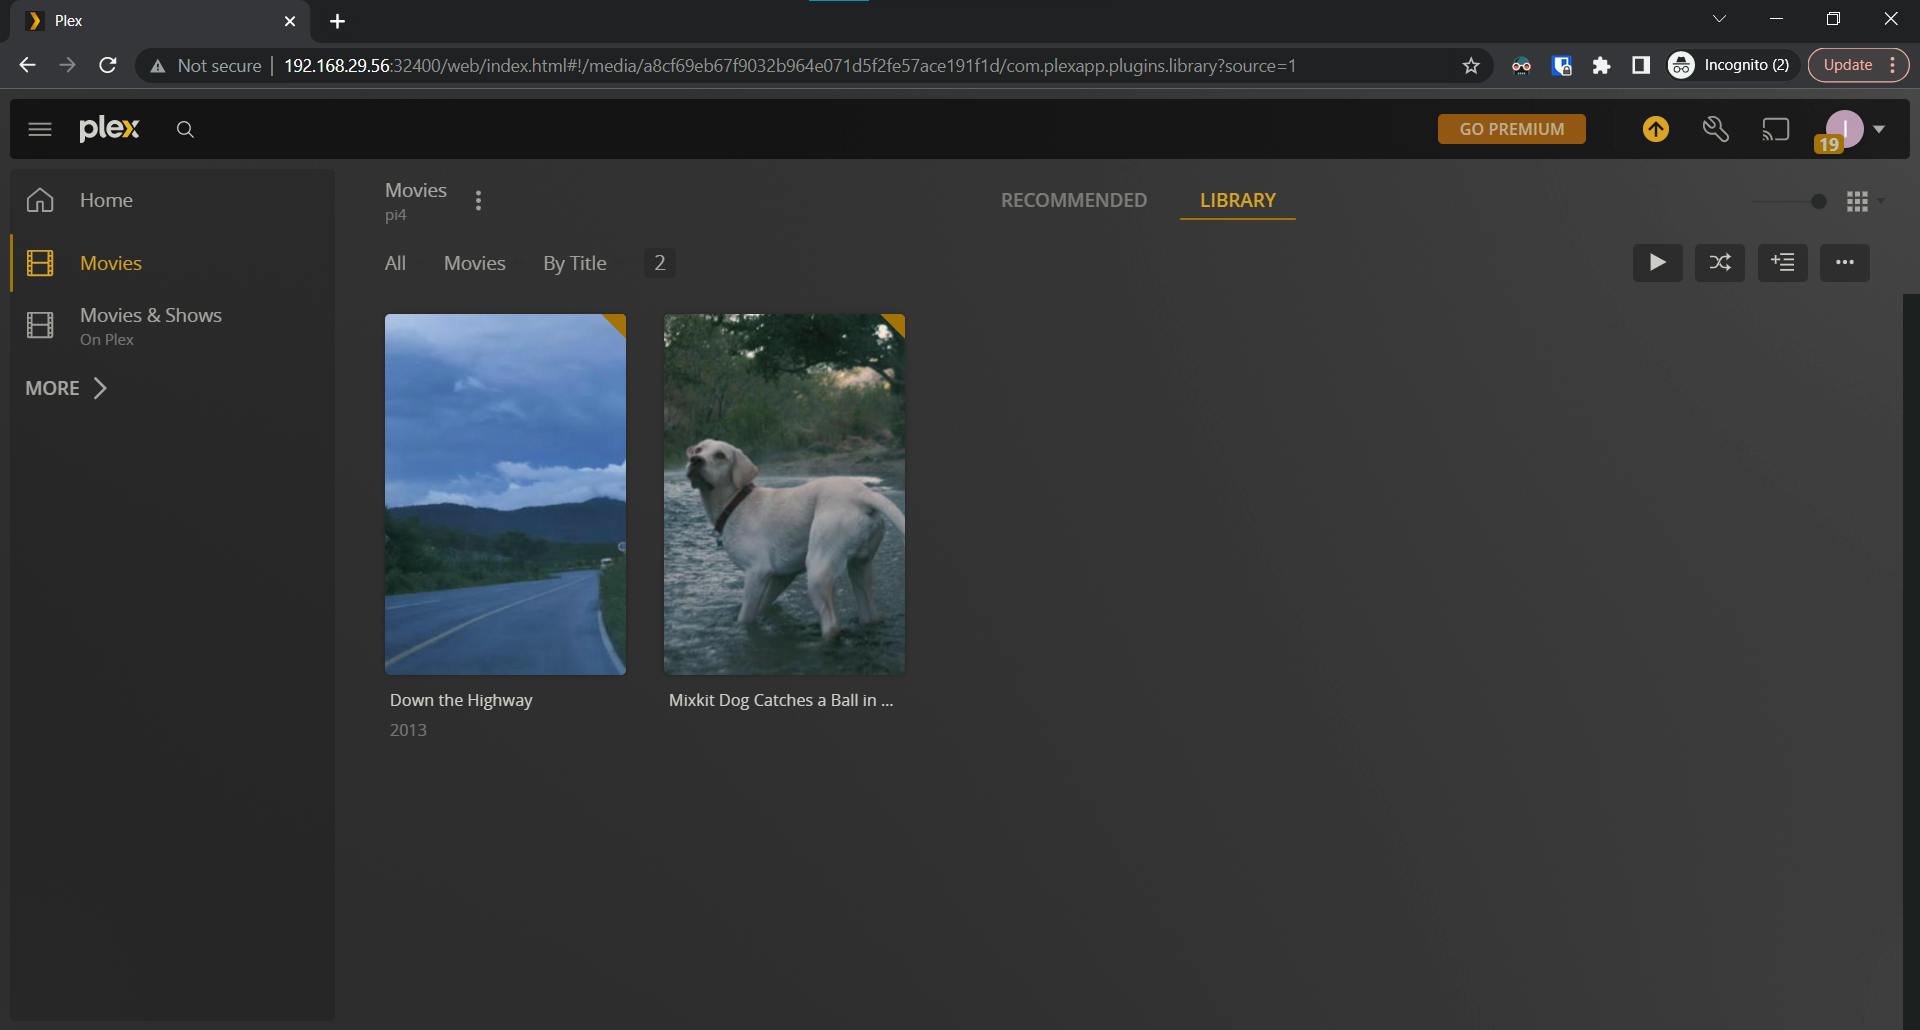
Scan the library files on Plex Media Server, and you'll be able to notice the transferred files.
Conclusion
You should now be able to stream your videos, pictures and songs through the Plex Media Server! Hopefully, this has been a fun project for you and now have a central hub for all your media content.
Thank You For Reading 👍
Check out my other articles or get to know me at vinaybomma.github.io
